

Contact Us
Thunder Bay
Address:
Chancellor Paterson Library
Room LI 1015 (Main Floor)
Hours (EST):
Monday - Friday: 8:00 a.m. to 4:00pm
email: itsupport@lakeheadu.ca
Phone (Internal): 7000
Phone: +1 (807) 343-8010ext. 7000
![]()
Orillia
Phone: +1 (705) 330-4010ext. 7000
![]()
Windows 8 Wireless Instructions
1. Ensure you are on Desktop view.
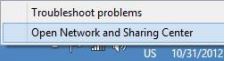
2. Right click on the wireless icon in the taskbar to open up network options.
3. Select “Open Network and Sharing Centre”
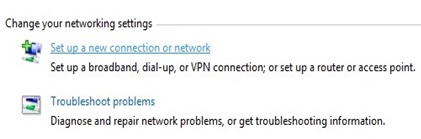
4. Select “Set up a new connection or network”
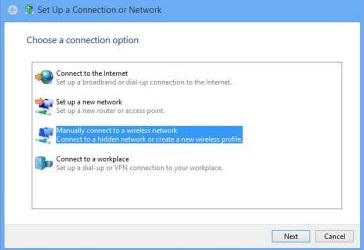
5. Choose “Manually connect to a wireless network”
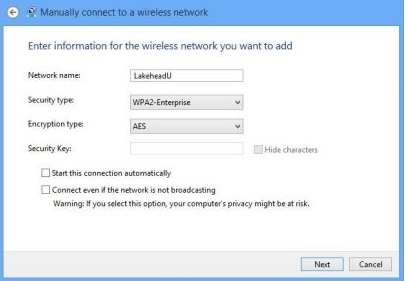
6. Enter Network name: LakeheadU
Security type: WPA2-Enterprise
Encryption type should be AES.
Click on Next.
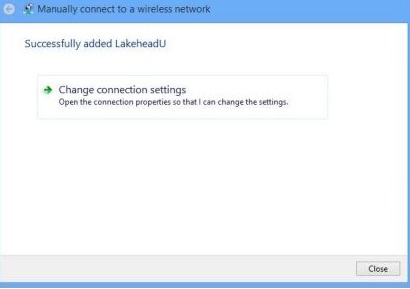
7. Click on “Change connection settings”
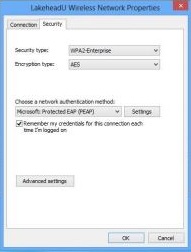
8. In the new window that comes up select the Security tab and then click on “Settings”
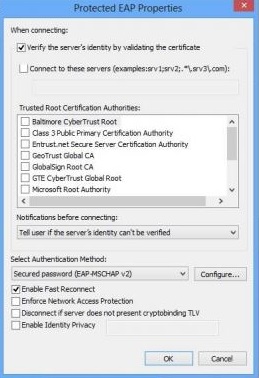
9. Remove the checkmark from the first box “Verify the server’s identity by validating the certificate”, then click on the “Configure” button near the bottom.
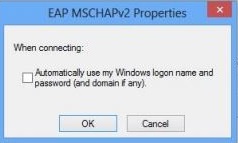
10. In the pop up, ensure the check box is empty. Click ok.
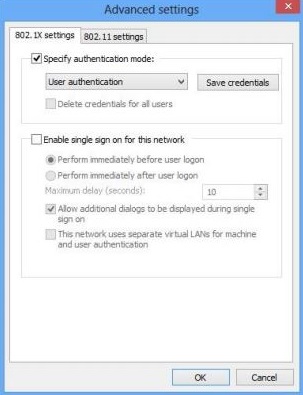
11. Back in the Security tab, click on “Advanced settings”
12. On the first tab, ensure that “Specify authentication mode” is checked off. From the drop down menu immediately below select “User authentication”.
Click on OK, and click OK on any remaining windows that may be open.
13. A Network Authentication window should pop up where you can enter your Lakehead University myEmail/myInfo username and password. If this window does not come up automatically, then you will need to open the wireless access list and tell your system to connect to LakeheadU.