

Hybrid Teaching Kit
- What's In The Kit?
- Instructions & Support
- Logging into the PC for the First Time Software
- Logging into the Mac for the First Time Software
- Software
- Connecting the PC/Mac to a Classroom's Audiovisual System
- Setting Up the OBSBOT Tiny Camera
- Using the OBSBOT Tiny Camera in a Zoom Meeting
- Setting Up the RØDE Wireless GO II Microphone Kit
- Using the RØDE Wireless GO II Microphone Kit in a Zoom Meeting
- Setting Up and Using the IPEVO V4K USB Document Camera in a Zoom Meeting
- Frequently Asked Questions
What’s In The Kit?
At the minimum, the kit will include:
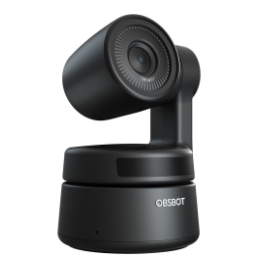
- OBSBOT Tiny PTZ Camera
In the box: - Camera
- USB-C to USB-A cable
- Magnetic camera mount
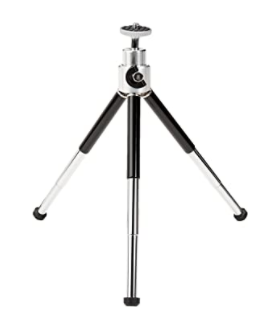
- Amazon Basics Lightweight Mini Tripod
To be used as alternate mount for the OBSBOT Tiny Cam
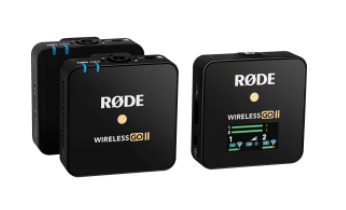
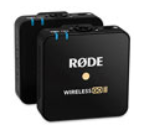
- RØDE Wireless GO II Microphone Kit
In the box:- Clip-on microphone (x2)
- Wireless microphone receiver
- USB-C to USB-A cable (x3)
- Fuzzy windscreen (x2)
- Audio cable
- Carrying case
If requested the kit can also include:
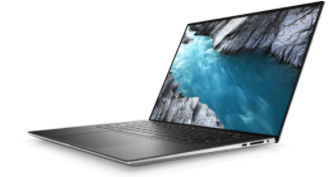

- Laptop
Either a Dell running Windows or a MacBook Pro. Including necessary power cables
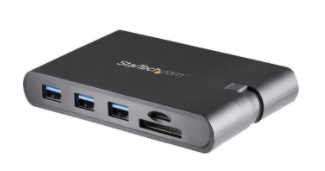
- StartTech USB-C Multiport Adapter
Supplied if receiving a laptop. To provide USB-A, video, and ethernet connections to the laptop
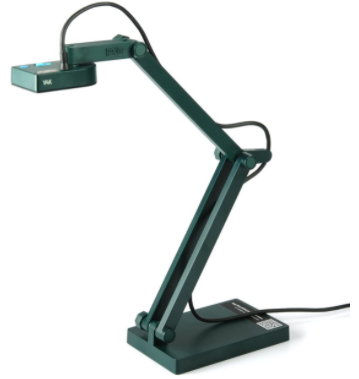
- IPEVO V4K USB Document Camera
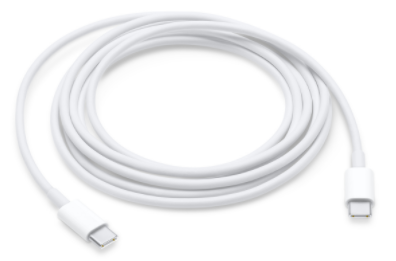
- USB-C to USB-C Cable
supplied if using a USB document camera
Instructions & Support
Logging into the PC for the First Time
- Find a convenient location on campus.
- Open the lid of the laptop and the computer will power-on automatically. If it does not for any reason, press the blank key in the top right hand corner of the keyboard.
- When presented with the home screen, press any key.
- Connect to the LakeheadU network:
- If using a hardwired ethernet connection, simply connect the USB-C multiport adapter to an available USB-C port on the computer, and then connect an active on-campus network cable to the adapter to get connected to the network
- If using WiFi, click the
 icon. In the resulting dropdown menu, click on the network "LakeheadU" and then click "Connect". When prompted, enter your LU username and password to get connected.
- Click the "Other User" icon in the bottom left hand corner of the screen.
- Enter your LU username and password and press the "enter" key.
Logging into the Mac for the First Time
- Find a convenient location on campus.
- Open the lid of the laptop and the computer will power-on automatically. If it does not for any reason, press the blank key in the top right hand corner of the keyboard.
- Connect the USB-C multiport adapter to an available USB-C port on the computer.
- Connect an active on-campus network cable to the adapter to connect to the LU network.
- Enter your LU username and password and press the “Enter” key.
Note: You only need to be connected to the LU network to log into your computer for the first
time. Once you’ve logged into your account on the LU network once, you can log in offline or on
any other network.
Software
Install the software that accompanies the equipment via Software Centre or the links below:
RØDE Central
OBSBOT Tiny Cam
IPEVO Visualizer
Zoom
Connecting the PC/Mac to a Classroom’s Audiovisual System
As the specifics on exactly what cables to use and how to power on the system varies from room to room, here is a general overview of how to connect a laptop to a room system:
- Plug the room’s supplied laptop video cable into the matching port on your laptop or multiport adapter. At LU, there are two possible video connector types you’ll run into. If a room has both types available, you only need to choose one. They are:
-
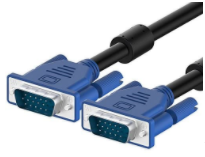 VGA - When using this cable, you will also need to connect the room’s supplied audio cable to the headphone jack on your laptop.
 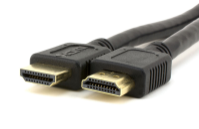 HDMI - As this cable carries both video and audio, only the one cable needs to be connected.
-
- Turn on the room’s projector and speakers using either the in-room touch/button panel and/or the provided projector remote (depending on the room)
- Route the laptop video signal to the projector by selecting the “Laptop” option on the room’s touch/button panel (if using an HDMI cable, the input may be labelled “HDMI”)
Setting Up the OBSBOT Tiny Camera
- Mount and position the camera:
- If using the included magnetic clip mount, connect the magnet to the bottom of the camera, and then adjust the clip to fit onto a computer monitor or other convenient location where it can see you
- If using the lightweight mini tripod provided in your kit, screw the tripod into the bottom of the camera, extend the legs, and then place the camera in a convenient location where it can see you
- Connect the camera to the laptop
- If you’re not using a USB document camera for your session, connect to the computer or multiport adapter using the included USB-C to USB-A cable
- If you are using a USB document camera for your session, connect the camera directly to the laptop using the USB-C to USB-C cable that was provided in your kit
- Once successfully connected, the lights on the front of the camera will turn green
Using the OBSBOT Tiny Camera in a Zoom Meeting
- Click the up arrow icon located next to the "Start/Stop Video" button
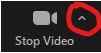
- In the resulting dropdown menu, make sure "OBSBOT Tiny Camera" is selected
- To stop or start the camera's auto tracking, make sure you're in the camera's view and raise your hand.

- To zoom the camera in and out, make sure you're in the camera's view and hold your hand in an "L" shape.

Notes on the OBSBOT Tiny Camera
- If the camera recognizes the gesture, the lightbar will be fully blue and flash once. If recognition fails, lower your hand and retry the gesture
- The camera can be controlled manually using the OBSBOT TinyCam software. It can be found in your computer's Software Centre, or downloaded from OBSBOT's website.
- Further support information on the OBSBOT Tiny Camera can be found at https://www.obsbot.com/service.
Setting Up the RØDE Wireless GO II Microphone Kit
- Connect the receiver to the computer or multiport adapter using one of the provided USB-C to USB-A cables
- The receiver can be identified by its built-in LCD screen and multiple buttons

- If connected properly, the screen on the receiver should display a battery icon
- The receiver can be identified by its built-in LCD screen and multiple buttons
- Turn on the receiver by pressing and holding the "Ø" button on the device for 3 seconds
- When successfully powered on, the screen on the receiver should display an image with the numbers "1" & "2"
- Turn on one or more of the transmitters by pressing and holding the "Ø" button on the device for 3 seconds
- The transmitter can be identified by its lack of built-in screen and its single button
- When successfully powered on and connected, the transmitter will display a blue LED on both the battery and chain link symbols, and you will also see a green meter on the receiver's screen that displays the sound levels
- Clip the transmitter to a shirt collar, shirt pocket, lapel or other convenient location near your mouth
Using the RØDE Wireless GO II Microphone Kit in a Zoom Meeting
- With both the receiver and transmitter powered on and connected, click the up arrow icon located next to the "Mute"/"Unmute" button
- In the dropdown menu, under "Select a Microphone", ensure "Desktop Microphone (Wireless GO II Rx)" is selected
- To test if the microphone is working in Zoom, click the up arrow icon located next to the "Mute"/"Unmute" button again and select the option "Test Speaker & Microphone..."
- Follow the prompts to check the sound of your selected speakers and microphone
Notes on the RØDE Wireless GO II Microphone Kit
- As these are wireless devices, the transmitters will need to be charged using the provided USB cables.
- The transmitters have a battery life of 7 hours on a full charge
- Both the receiver and transmitters can be further configured and controlled using the RØDE Central software included in the provided laptop
- If your kit did not include a laptop, the RØDE Central software can be downloaded here
- Further support information on the RØDE Wireless GO II Microphone Kit can be found at https://rode.com/wirelessgoii/learning-hub
Setting Up and Using the IPEVO V4K USB Document Camera in a Zoom Meeting
- Connect the document camera to the computer or multiport adapter using the document camera's attached USB cable
- In your Zoom Meeting, click "Share Screen"
- In the Share Screen selection window, click the "Advanced" tab
- Click the option "Content from 2nd Camera"
- Click "Share"
Notes on the IPEVO V4K USB Document Camera
Further support information on the IPEVO V4K USB Document Camera can be found at https://www.ipevo.com/products/v4k/support
Frequently Asked Questions
Q: Do I always need to be on the Lakehead University network to log into the laptop provided in my kit?
A: No, the initial login requirement is only to establish your account onto the laptop. Once established, the computer can be logged into at anytime (including when no network is present).
Q: Can the OBSBOT Tiny Camera do a full 360° rotation?
A: No, however the camera does have a considerable range of motion, suitable for tracking movement throughout the front of rooms.
Q: How can I tell which device in the RØDE Wireless GO II Microphone Kit is the receiver and which one is the transmitter?
A: The receiver has a LCD display and has multiple buttons. The transmitter has a silver circular microphone on it's top and has a single "Ø" button.
Q: Do I need to use all of this equipment to teach my hybrid class?
A: No. The equipment supplied can provide an improved hybrid experience, but you are welcome to tailor your equipment use to meet your teaching needs.
Q: Who do I return this equipment to once the semester is over?
A: Please speak to your Dean or Department Chair about what to do with your equipment when the semester is over.
Q: Who can I contact with general questions or concerns regarding the setup and operation of my hybrid teaching kit?
A: You can email us in TSC Multimedia's Audio Visual department at av@lakeheadu.ca or call at (807) 346-7793 (extension "7793" on LU desk phones).
Q: Who do I call if I need support with the room technology during my class?
A: Please call the Helpdesk at (807) 346-7777 and follow the prompts to connect with a Classroom Technology Support technician.